Wizard Wand and Spell Book DIY How to make magical props for your costume or Halloween party
Need some accessories for your wizard costume or props for your Halloween party? Here’s how to make a light-up wand and an aged, custom spell book.
Over the summer, my daughter was picking different Disney shows to go through one by one. After all the Austin & Ally and Dog With a Blog shows, she asked for suggestions, and I mentioned Wizards of Waverly Place. She loves that show now and decided she wanted to be a wizard like Alex for Halloween. We already had a nice burgundy crushed velvet robe and a black cape to wear. But she needed a wand and she also wanted a spell book.
I apologize for not having photos of all of the steps. I didn’t originally plan to document all of this, but we were so happy with the results and got such rave reviews, I decided to write about it after all. Some day maybe I’ll come back and fill in some of the blanks if I make another one or something similar.
How to Make a Light-up Wizard Wand
We started with the wizard wand. She wanted one that “works” of course. You know those squishy rubbery balls that you throw and they’ll start flashing (like these)? Being the thrifty and geeky mom that I am, when the ball deflates, I keep the innards, which is a small (<1″ diameter) clear plastic ball with electronics inside. So I had a couple of these light mechanisms in my stash. The problem is that the whole mechanism was just a bit too big to be at the tip of a wand. So I had to get techie.
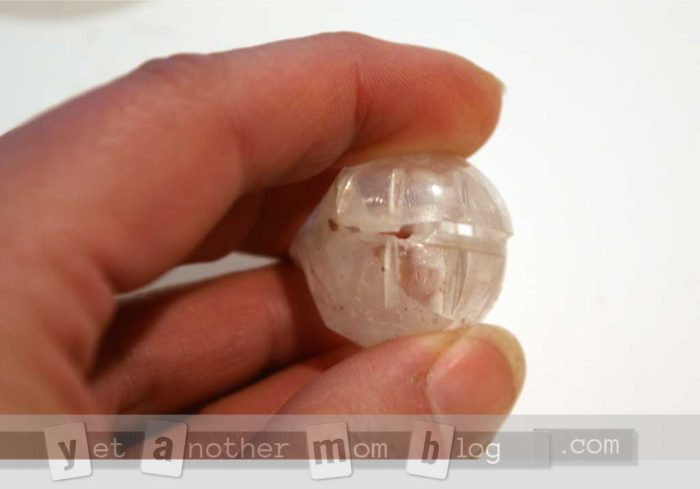
Here’s a pic of the little ball (after I mangled it trying to get it open to get the stuff out):
Inside the little plastic ball was a chip with a battery compartment, a little spring that makes the connection when bounced or shaken, and a couple of lights. In the picture below, I’ve already removed the lights (where the blue arrow are), but you can see the spring (green arrow).
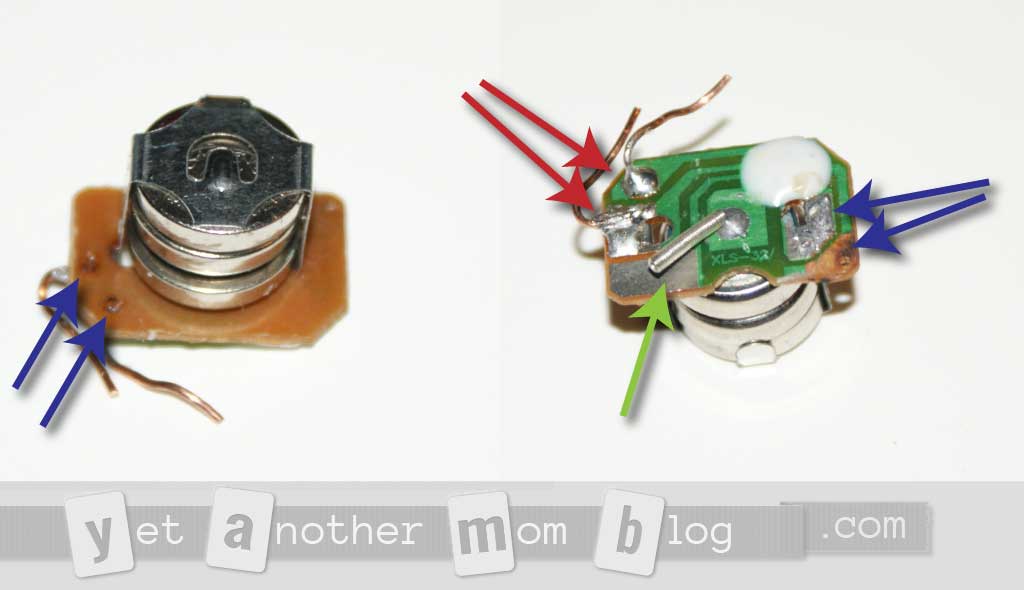
I figured if I could just move those lights to the tip of the wand, I could make a handle that has the rest.
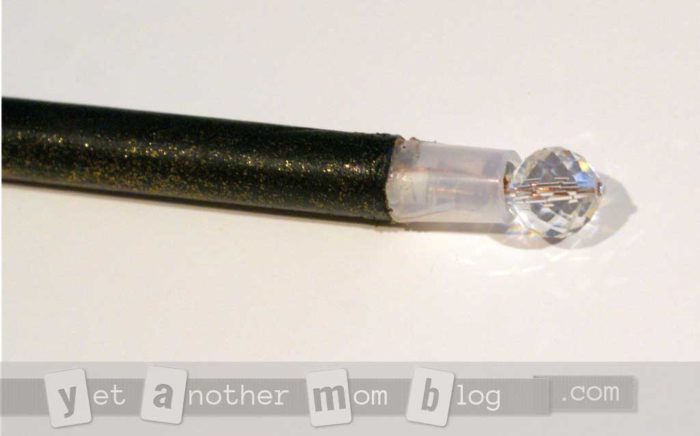
I used a cardboard tube from a dry cleaner pants hanger to make the wizard wand. At the tip, I glued on a translucent plastic tapered piece that came from a cap for something (again, found in my stash), that I had to trim a bit of length. At the end of this I added a nice faceted clear glass bead that really added sparkle.
I carefully clipped off the bulbs from the circuit board and added longer wires so they could run inside the cardboard tube. (I’m making this sound so easy, but believe me, this wasn’t. I tried my hand at soldering for the first time and managed to fry the first circuit board and had to get another one.) In the image above, the red arrows point to where I connected the wires from the bulb shown below.
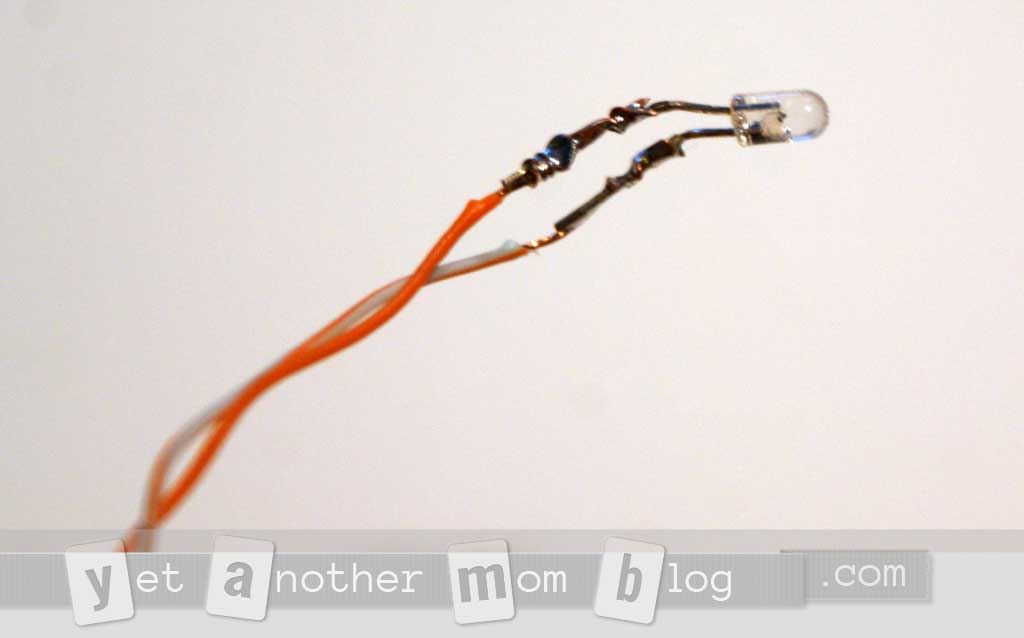
If you have been paying attention, you’ll noticed that I reconnected the bulb wires in a different place from where the bulbs had been attached. That’s because during my soldering attempts I fried part of the board, so the electronics for the flashing didn’t work, but the battery compartment and the spring connection parts were intact, so I just wired that part directly (to the part with the red arrows instead of the blue arrows).
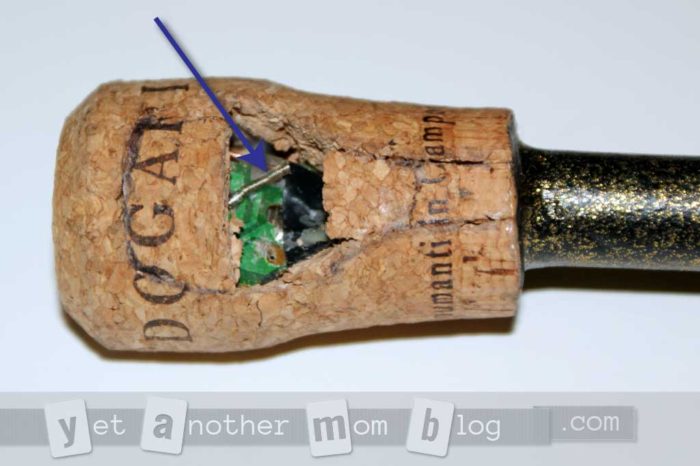
To make the wand handle, I took a cork which was from a champagne bottle or something and carved out a hole at the narrow end to insert the tube and wires, and carved out a section of the side where I could insert the circuit board. I positioned it so the spring was facing outwards. Then I carefully glued most of the cork bits back on except for the piece where the spring is (see blue arrow below). Here, I left the cork piece unglued. The picture below shows the whole thing without the last piece of cork replaced. To use it, I just put that last piece of cork in gently and the friction held it in place. Applying just a bit of pressure to that loose piece pressed on the spring so it could make the connection and light up.
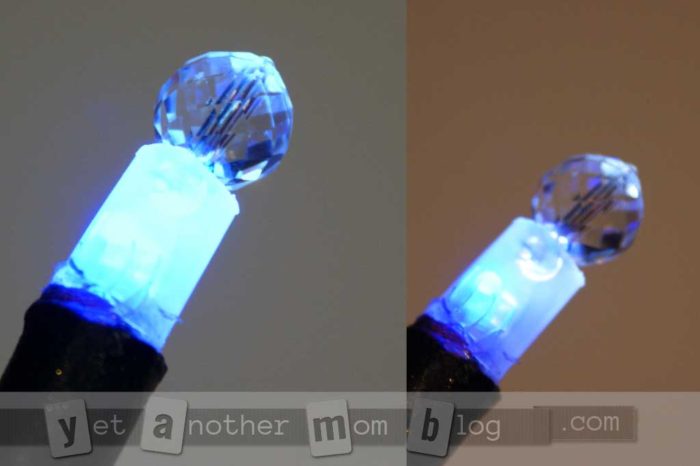
Here’s a super closeup of the wand lit. In the image on the right you can just make out the light bulb inside the tip.
After all the technical stuff was done, the wizard wand was ready for decoration. Em decided to leave the cork as is, but paint the wand black and then added a light layer of gold sparkle over it. We both really like the hint of gold.
Pretty cool, huh? Especially since the control is pretty hidden in the cork, so at first glance someone can’t figure out how it works.
How to Make a Wizard Spell Book
Now on to making the spell book. This was a lot more fun for both of us.
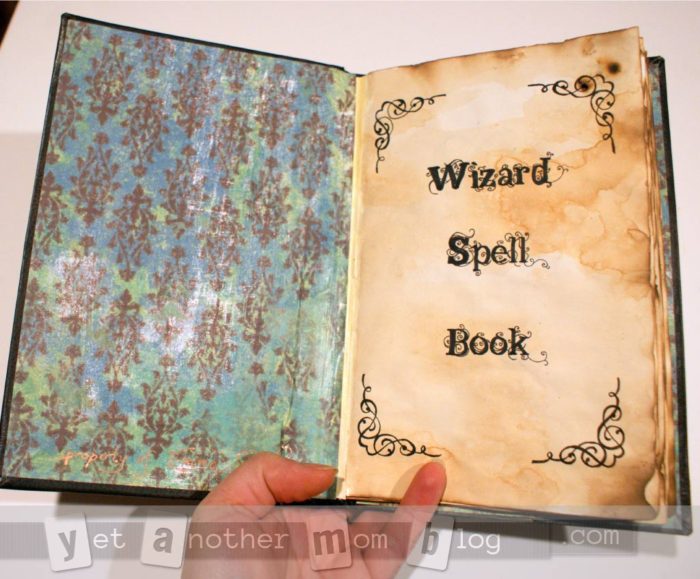
We started with the paper for the book pages. I found some linen stationery used for printing resumes, but I could have even gone heavier, like an art paper. We had fun painting on some coffee and tea to give it the aged and stained look. When we were getting impatient for it to dry so we could add more stain, I got out the heat gun. That dried it REALLY fast. And we discovered somewhat by accident that the heat gun was great to burn the edges to really give it a great aged look. We ended up with 7 sheets.
Next time, I would probably consider printing (with a laser printer or other waterproof ink) the spell book pages before aging, because now we had paper without any spells. My first plan was to laser print the pages and then iron transfer the text, but Em really wanted a handmade look, so I decided to hand letter it. I still printed out the page designs with different spells (from the show), and different fonts, but used a light box to then trace the letters, since I’m not so confident in my calligraphy skills. One of the pens I used bled through a bit, so heavier paper would help avoid this problem. I switched to a different pen.
After adding text, I thought it still was a bit plain, so I found images of swirls and swashes and spell-like symbols to add. After tracing a few, I got a bit more confident and did a few freehand as well.
Here you can see some of the finished spell book pages.
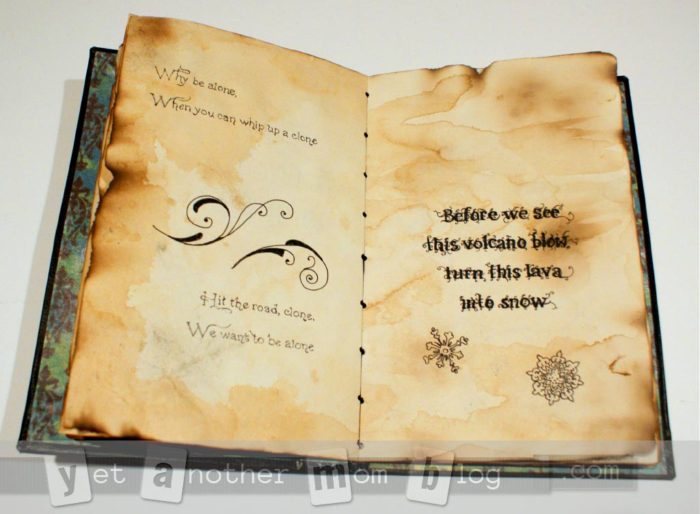
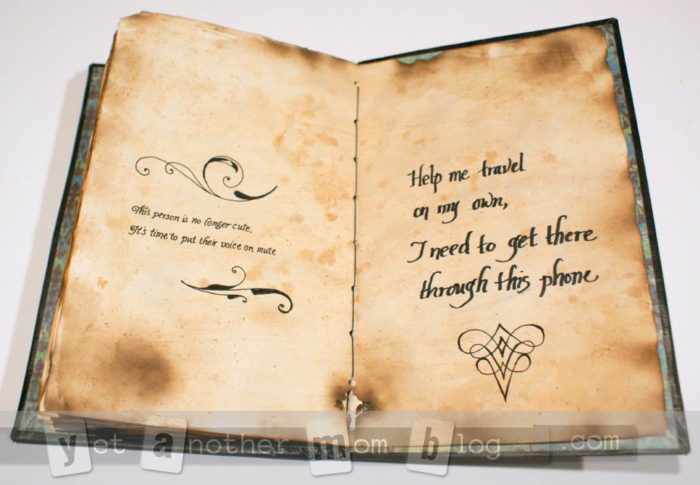
The next step was binding. I have a tiny hole punch. We folded the papers in half, and then I punched, half hanging off the fold (so when opened it would be a full circle), about an inch apart down the length. We wanted the spell book to look beefier than just 7 (or really, 14) pages. So instead of having them all nested, I assembled it with each page folded separately. Then I got some heavy duty coat and button thread and stitched the pages together loosely, again, to make it seem thicker.
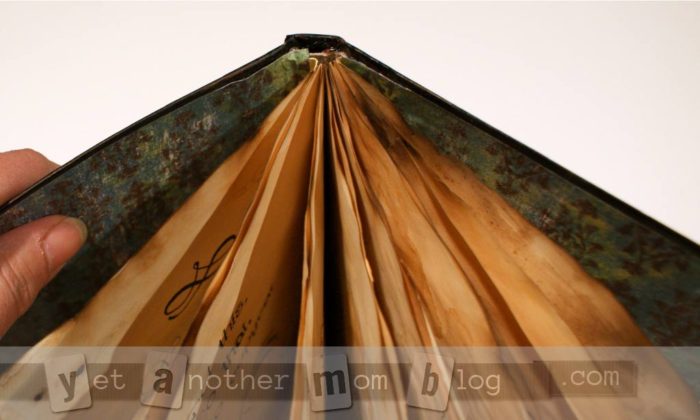
I still stitched it a bit tighter than planned as you can see below, but the wrinkled pages still give it lots of fullness.
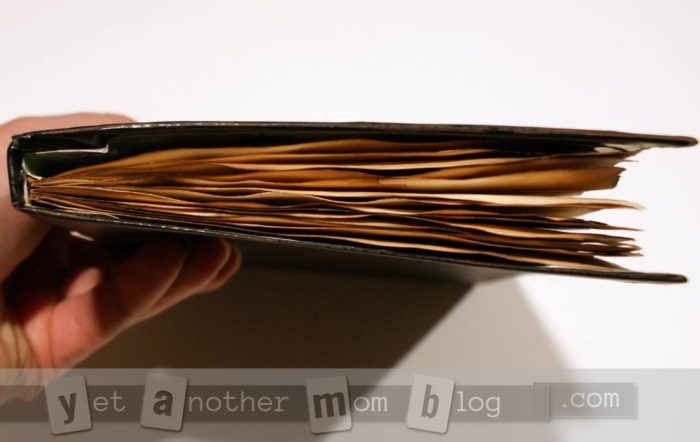
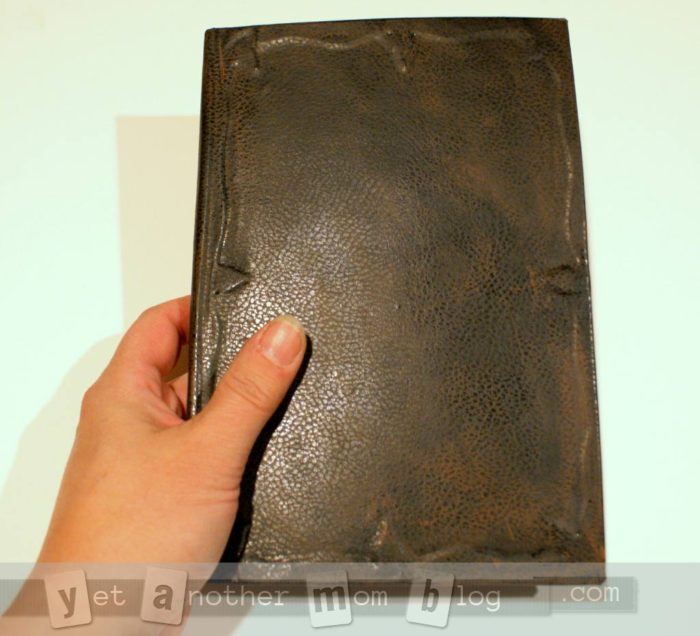
To make the spell book cover, we used a cereal box. I cut the box a bit bigger than the paper for overhang, plus extra to allow for the spine, which was about 1/2″ wide. I scored either side of the spine to make the creases neat. We wanted to add a bit of 3D effect to the cover, so I cut out a narrow pattern from more pieces of the cereal box and glued it around the edges of the front cover. We then covered the whole thing with black faux leather contact paper. Around the 3D relief and the edges I used extra glue to make sure it would really stick in the recesses. I cut the piece about 1″ bigger all around so it could wrap around the edges and then be glued inside. If you try this, make sure to fold the book cover closed so the contact paper will fit properly.
My daughter originally wanted the book to be brown, but all we had was the black contact paper, and I don’t even think it comes in brown, so instead we took brown acrylic craft paint and rubbed on a light coat. This worked really well, because we could really give it an aged look. Here’s my test sample:
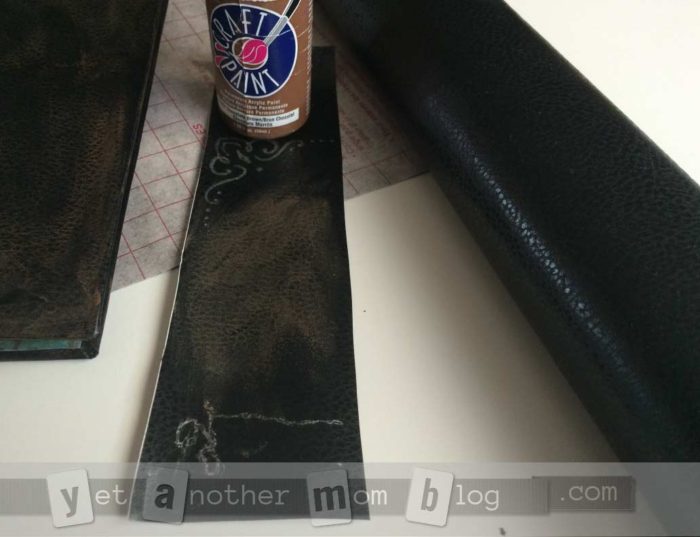
You’d never know this was really black.
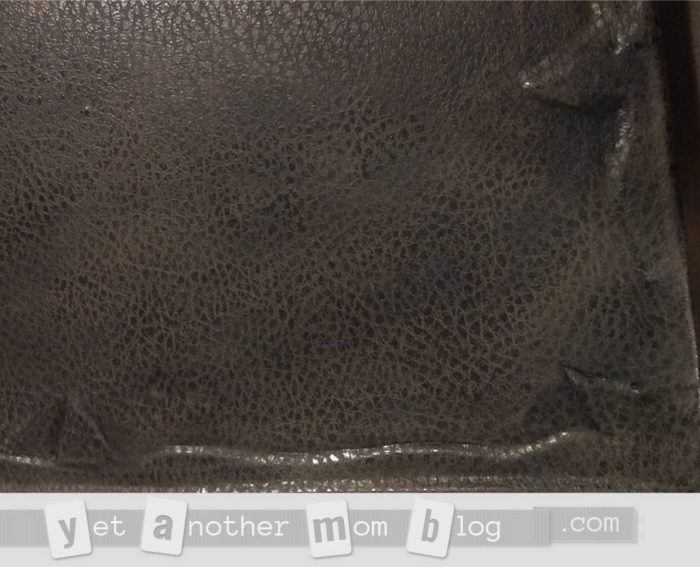
Originally we were going to put silver pre-cut letter stickers to label the book cover, but we loved the cover so much we didn’t want to ruin it.
Now it was time to attach the pages to the cover. I cut out another piece of cereal box the size of the spine, plus about an inch overhang on either side, and scored it just slightly smaller than the width of the outer spine. I punched holes in this as well and then stitched the book pages to this piece (sorry, I didn’t get any pictures of this step). Then I glued the overhang flaps to the inside of the cover.
To finish the inside, my daughter chose a really cool distressed scrapbook paper which we cut just slightly smaller than the cover and glued in placed. In hindsight, it would have been better to add an extra page to the book which could be glued down, which is how books are usually made, but we forgot. So just before adding the scrapbook paper, I took small strips of plain paper, folded in half lengthwise, and glued one side along the first/last pages, and the other side to the inside cover to hide the stitching.
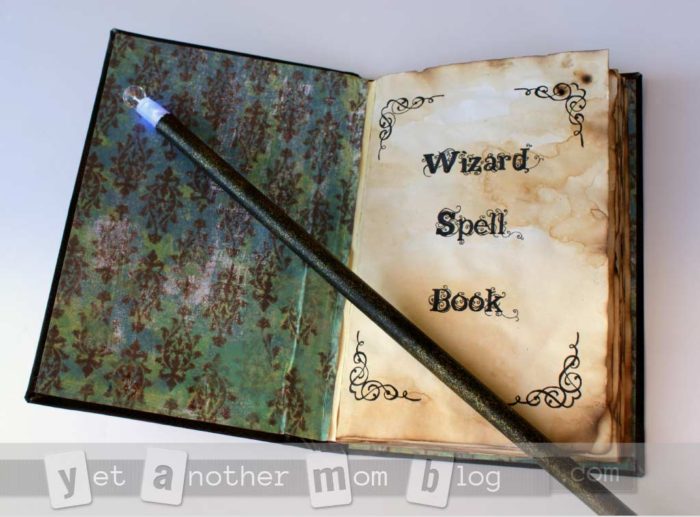
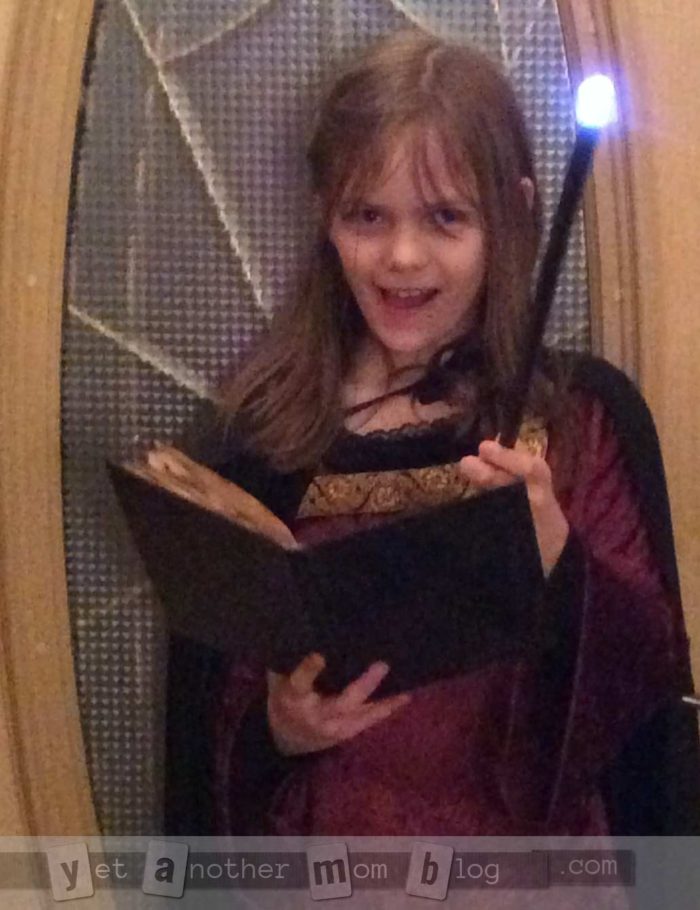
Here’s my daughter casting a spell on me with her new “working” wizard wand and spell book!
Making a book, whether for spells or a special scrapbook or journal is a fun project anytime of the year. You could even make it with handmade paper! And the wand project is a good introduction to electronics.
Let me know if you try either of the projects!

