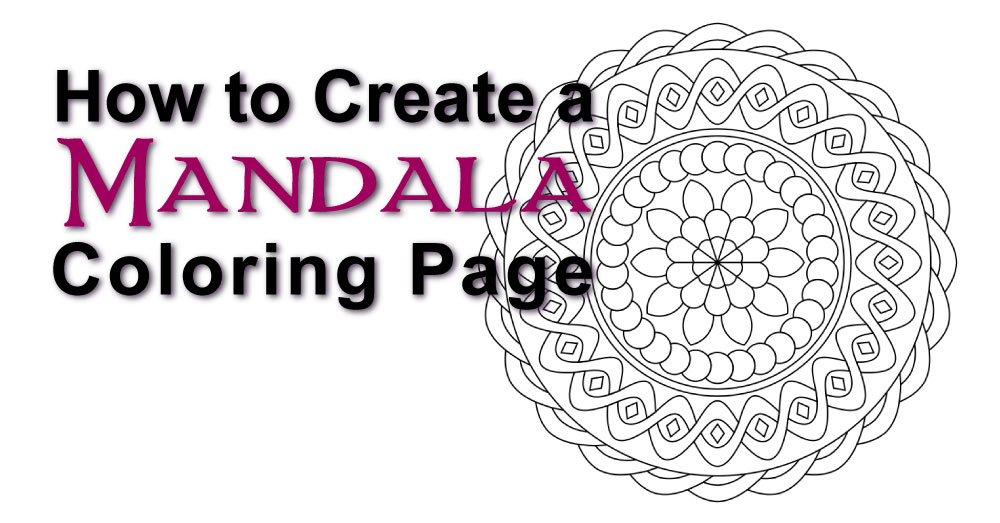
Anyone Can Create a Mandala Coloring Page! It's easy with the right tools!
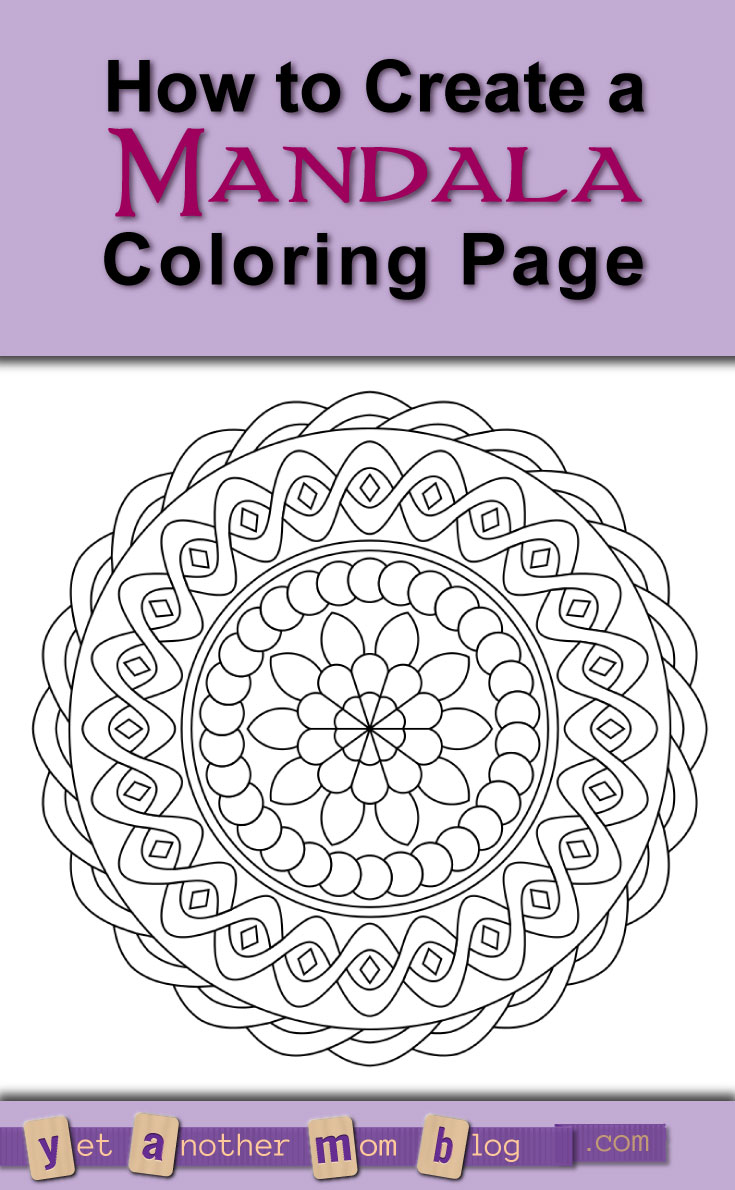
Would you like to create your own coloring pages but just don’t know where to start? Or maybe you don’t think you are artistic enough? Here’s a tutorial for making your own mandala coloring pages using a FREE online app that is so easy a six-year-old can do it!
If you are into the coloring scene, you’ve probably noticed that there are some people whipping out a new mandala coloring book every couple of days. You are probably thinking, “Wow! These people are amazing and talented and so dedicated! When do they sleep?!?”
Got a secret for you. There are apps out there that make it easy. And many of them are FREE! If you do a search for apps for creating mandalas or kaleidoscope images, most are geared towards creating a finished, colored picture, with colored backgrounds, neon lines, colored patterns, and so on, but they aren’t really good for creating a coloring page. But there are a few that do what we are looking for.
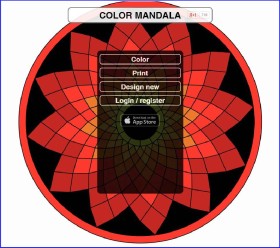 Today I’m going to give you a little tutorial on Color Mandala (at http://www.colormandala.com), which is an app for creating and coloring mandalas. That’s all it does. It is pretty simple to use. Even my 6-year-old daughter was able to create a pretty mandala coloring page! You have the option of creating an account, if you want to save your work online. If you don’t create an account, you can still save your creations as JPG or PDF.
When you go to the site, you’ll see a menu, where you can select Design new. This will bring you to a page with a blank working area, and a tool panel labeled Designer: All parts. You can drag this tool panel around to move it out of your way. If you click on + Add shape, you’ll get a pop-up menu of all of the types of shapes you can create. I won’t go through all of them, but we’ll cover a few.
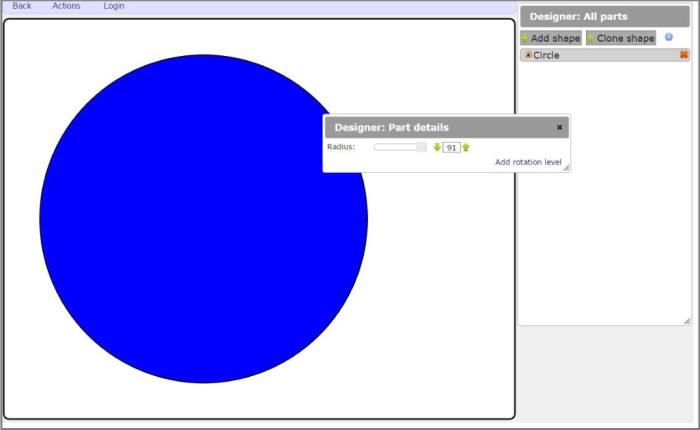
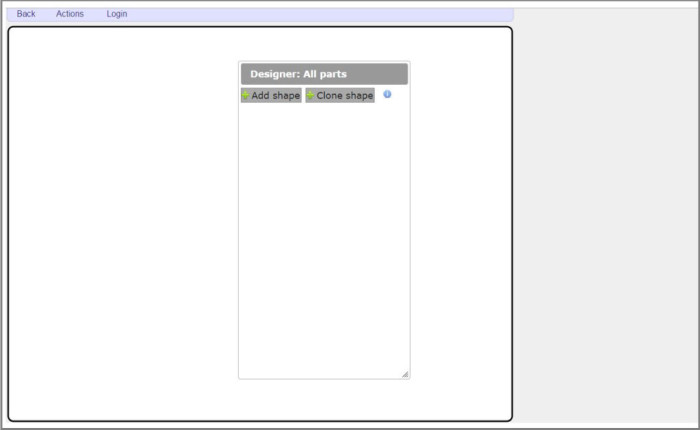 Let’s start with a circle. When you select a shape, it will appear on your workspace, highlighted in blue. You will also see a shape properties panel (Designer: Part details). For a circle, it has a single Radius property. This determines the size of the circle. (If you click on Add rotation level in the lower right, that enables more properties for repeating the whole shape that I won’t cover here. You can play with it later.) The radius defaults to 100 (the max size). I wanted it a little bit smaller, so I changed it to 91.
 Now let’s get a little fancier. Go back to add a shape and this time select Twist. This shape has multiple properties you can play with. The Radius will determine the overall size. I changed that to 77, so it will be inside the larger circle we created in the first step. The next property is Repeats. When you work on a mandala, think of it as a pie with wedges. Each wedge looks the same and is repeated around the pie. So, how many wedges do you want? If you look at the highlighted shape on the page, you’ll see a dark blue wavy line intertwined with a light blue wavy line. For the twist shape, a single repeat is one “hump” (either dark blue or light blue). This is what is repeated around the pie. I decided to go with 24 humps. You can also change the Width, which is the thickness of each rope, and the Amplitude, which is how big/tall each wave is. I went with 8 for the width, and 10 for the amplitude.
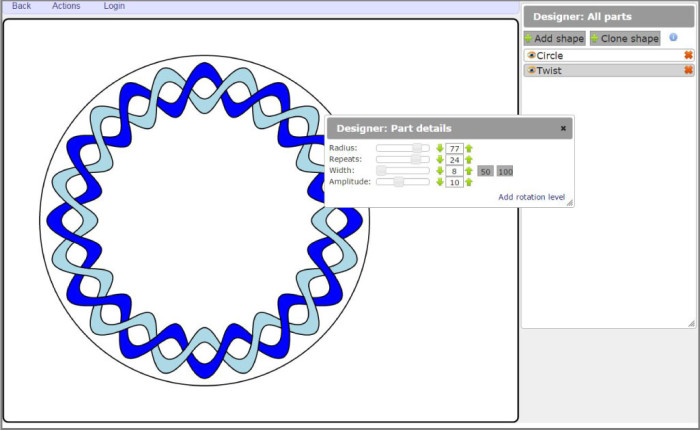 As you add shapes, you’ll notice that new ones overlap the existing ones. Imagine each shape you add is actually cut out of paper and placed on top of the other shapes. So the app assumes you’ll be working from the outside in (bottom of the stack), getting progressively smaller (to the top of the stack). But if you decide you want to add something bigger, that is, outside of what you’ve already added, you can change the order in the shape list by just dragging it to where you want it in the stacking order. You can use this stacking to your advantage too, if you want just part of a shape to peak out from behind another shape. I’ll show you this later.
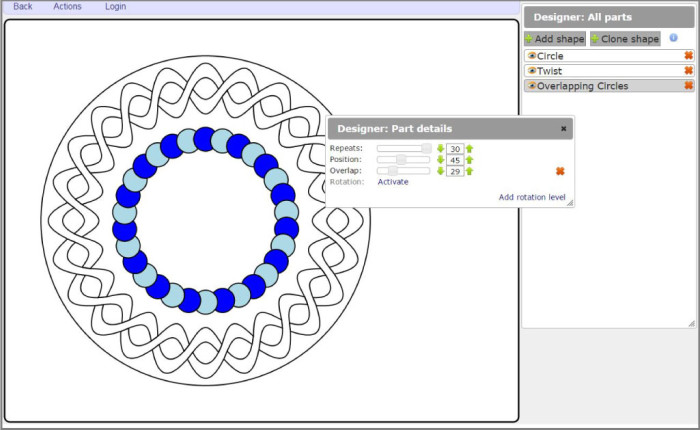
The next one I added was Overlapping Circles. The Repeats field determines how many circles you want. The Position field is really the same as the radius, determining how big you want that ring of circles. By default, the circles will touch but not overlap and the size of the circles is determined by the number of them and the position. You’ll see two other settings grayed out. If you click on Activate, they will become enabled. The Overlap setting determines how much the circles will overlap. Without changing the other two settings, increasing this number will also increase the size of each circle.
I added a couple of flowers next, one inside the other, and used different settings for each. Then I wanted to fill the space between the overlapping circles and the outer flower with leaves. This shape has a little different behavior. You’ll see just one leaf appear initially. All the properties for this shape are disabled by default, so you’ll have to activate them. The Start and End determine the length of the leaf. I wanted mine to start inside (behind) the flowers in the center and end inside the circle of circles. The Repeat field determines how many leaves you’ll get. The Curvature determines how fat each leaf is. And Chop will cut off the bottom portion of the leaf (to make it look more like an arched window).
 To move the leaves behind the flowers, you simply drag the leaf shape in the shape list to move it where you want in the stacking order. I moved it to between Flower (first) and Overlapping Circles.
For this shape, I also changed the Rotation. By default, that first leaf was vertical (90°). I changed the repeat to 10 to match the number of petals on my outer flower. But that meant the leaves appeared behind each petal. By changing the rotation to 50 (50%), I moved the leaves to appear between each petal.
I played a little bit more, adding a braid on the outside and adding small diamonds inside the twist. The braid is positioned behind that initial circle. The diamonds are on top of everything, and that’s okay, since they are a repeating pattern that I placed so they don’t overlap any other shape. They don’t block any other shape and they aren’t blocked by any other shape.
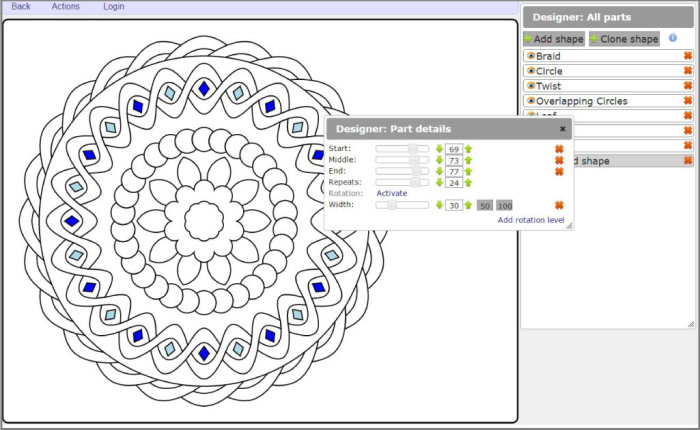
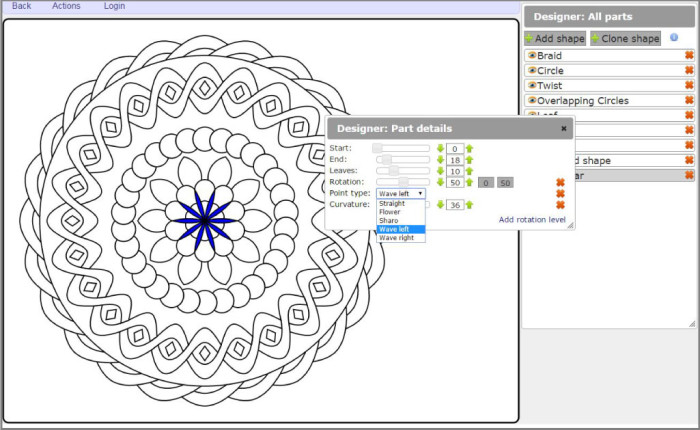
The next shape I added was Open Star. The End field determines how far out the tips of the star points will be, and Leaves determines how many points on the star. And the Start field determines where the inside ‘v’ of the star will be. The higher the number, the fatter the star. But if you reduce it to 0, you will get simple lines that just look like they divide up your pie. The Point type setting determines how the line is drawn from start to end for each point. I left it at Straight because I thought it looked better to use these to make divided petals on the flower.
Finally, I decided to fill in a bit of the open space between the twist and the overlapping circles. I created two circles, one a bit smaller than the other, to create a ring that can be colored in. That’s it! All done!
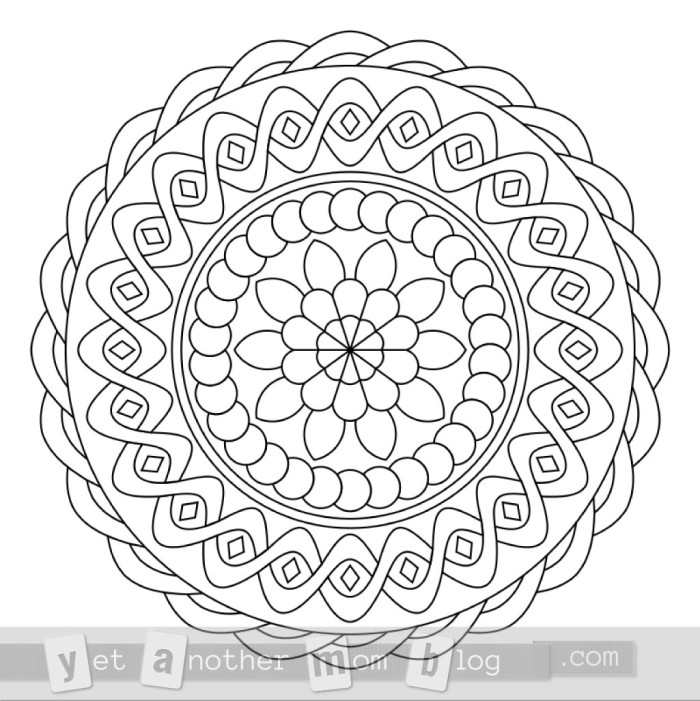
When you are done, you can go to the Actions menu to download a PDF or JPG of your creation. The JPG image will be 800×800. If you had logged in, you’d also be able to save it online or download an SVG file. See how easy that was!
The app also has a bunch of free mandalas you can color online or print out. I won’t go into all of that side of the app here, but it is pretty intuitive.
To sum up, I think this app rocks! At first glance, this app seems very basic, but when you get into all of the settings, you’ll find you can create pretty complex designs by combining shapes in creative ways. The only negatives I see are that you can’t increase the size of the image (the canvas is always 800×800) and there is no free-form drawing tool to allow you to draw your own shape (or an import function to import an image to use as a shape). But those are pretty minor limitations, really.
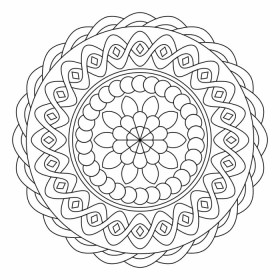
Here’s the mandala Em created (with just a little initial help from me):
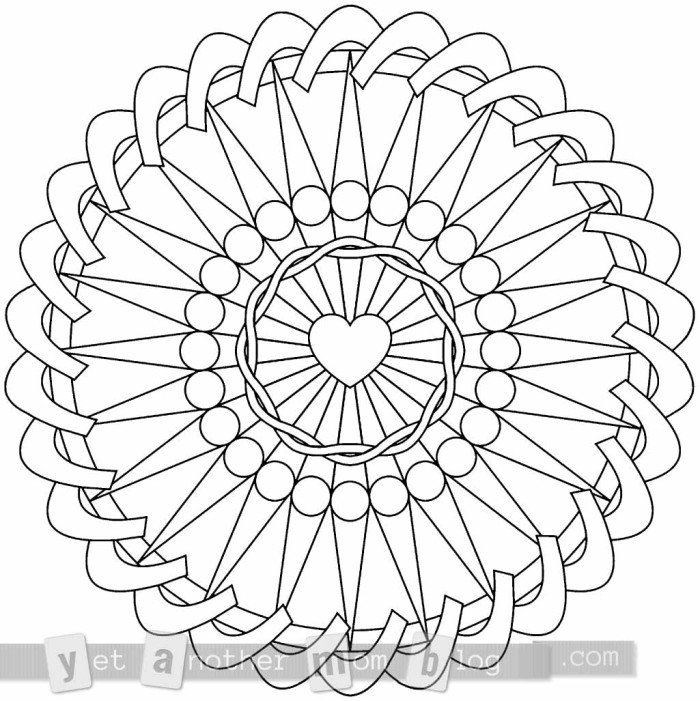
You can download these to color:
Color Mandala app Tutorial Coloring Page PDF file for download:
Em’s Mandala #1 Coloring Page PDF file for download:
Enjoy!
If you like these coloring pages, check out my other coloring pages.
New to coloring and want to know where to start? Check out my post of recommended coloring books and supplies and my intro to coloring media types.
And I now have some of my own creations for sale on Etsy! Check out my shop!
Also, check out my Coloring for Grown Ups board on Pinterest for more coloring pages I’ve collected… and follow me while you are there!
Follow Cynthia Caldwell @ Yet Another Mom Blog’s board Coloring for Grown Ups on Pinterest.
Do you have a favorite drawing app that works well for creating coloring pages? Let me know!
